
Buying
How to choose a thermal camera
There is no single best thermal camera — there is the right resolution, lens and price for the job you have. Five questions that narrow it down.
Updated
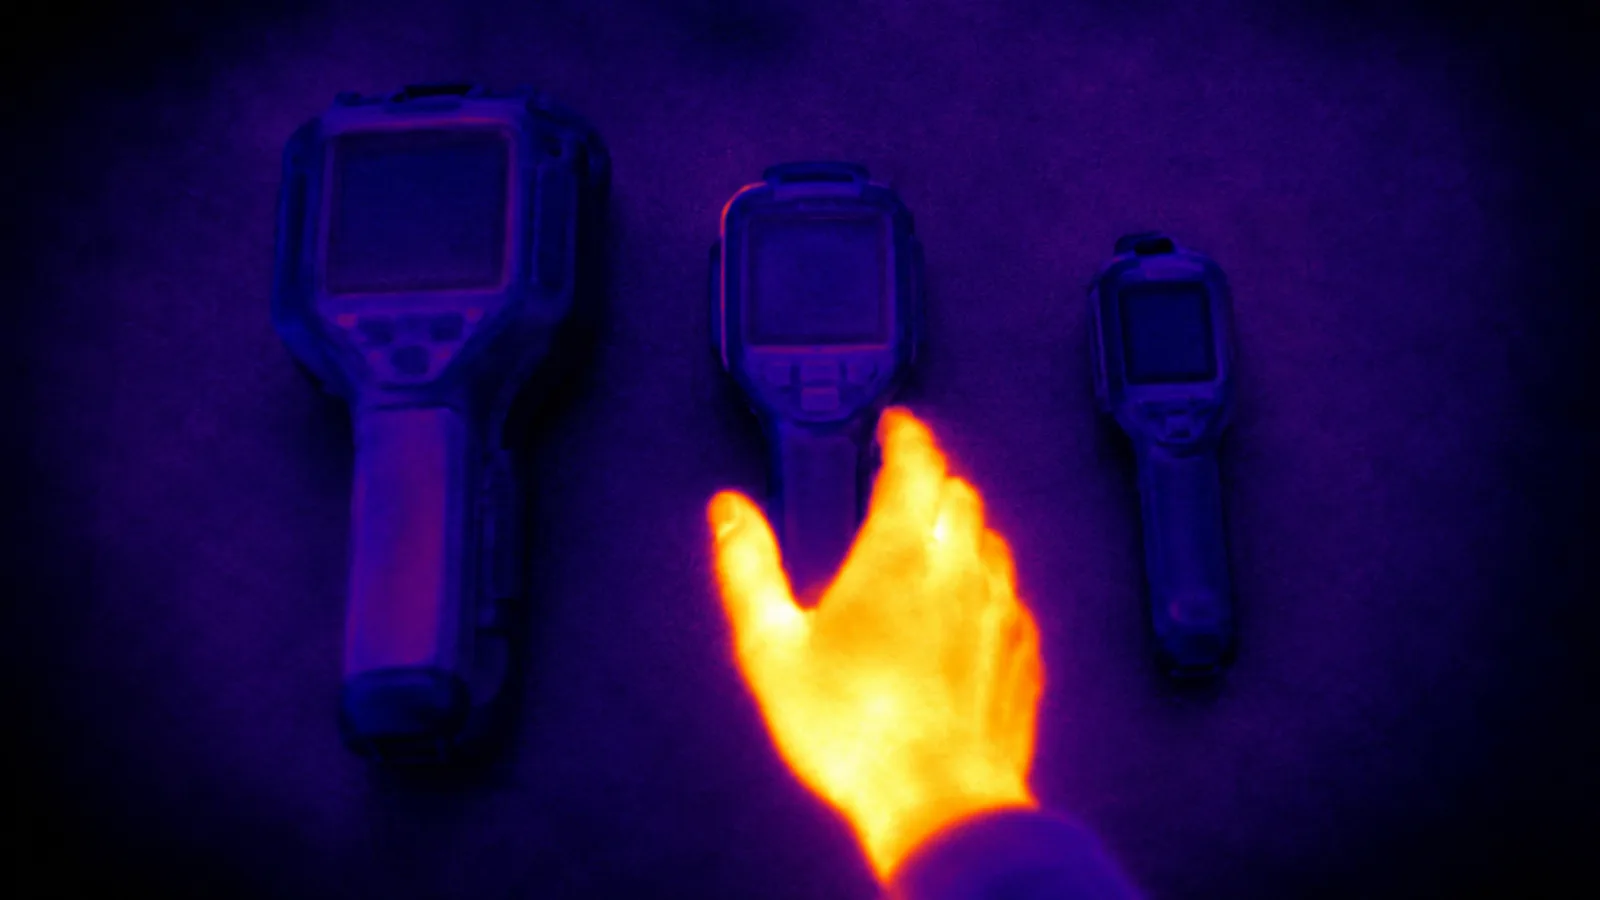
There is no best thermal camera, only the right one for a job. A roofer, a wildlife photographer and someone trying to find a draught in a back bedroom need three different instruments, and the cheapest of those three is “borrow one”.
Five questions get you to the answer.
1. How close will you be?
This decides resolution more than anything.
Indoors, at two or three metres, a 160×120 sensor is fine: the wall fills the frame and a cold patch is obvious. At twenty metres — a roof, a substation, a field — each pixel covers a much larger area, so a warm object smaller than a pixel simply averages away. That is where 320×240 and up start to matter.
The useful number is instantaneous field of view: how much of the world each pixel covers at a given distance. Manufacturers publish it, and it tells you more than the headline resolution.
2. Do you need a number or a picture?
A picture — where is the heat, is there a pattern, is one of these warmer than the others — is what most people actually need, and almost anything delivers it.
A number you will write down means accuracy (±2 °C is typical), emissivity settings you can adjust, and a calibration certificate if it goes in a report. That is a different class of device and a different price.
3. Indoors or outdoors?
Outdoors, in daylight, everything has been warmed by the sun and contrast collapses. Professionals survey buildings at dawn, in winter, with the heating on — not because they like early starts but because that is when the temperature difference exists.
If you will work outdoors, prioritise thermal sensitivity (NETD, in millikelvin) over resolution. Under 50 mK is good; under 30 mK is noticeably better in flat conditions.
4. Phone attachment or standalone?
An attachment is cheaper and always in your pocket. It drains your phone, it can be awkward in a case, and its narrow field of view often means standing further back than the room allows.
A standalone device has its own screen, battery and trigger, survives being thrown in a van, and does not care what phone you own. If it is a work tool rather than an occasional curiosity, standalone wins.
5. How often, really?
Be honest. If the answer is “once, to find out why the bedroom is cold”, hire one for a day. Tool hire shops rent them for a small fraction of the purchase price, and in several countries public libraries lend them free.
Spec tricks to watch for
- “Enhanced” resolution. A 160×120 sensor upscaled to 640×480 is a 160×120 sensor. Look for the native figure.
- Temperature range quoted without accuracy. “−20 to 550 °C” says nothing about whether the number is right.
- Refresh rate. 9 Hz is common in consumer devices, partly for export reasons. It is fine for static work and visibly laggy when panning.
- Fixed focus. Most cheap devices have it. Fine at room distance, soft up close, which matters for electronics work.
- Battery in the cold. Thermal surveys happen on cold mornings, which is exactly when small batteries give up.
And the honest footnote
If you found this page while looking for a free app that does the same job: it does not exist. A phone has no thermal sensor, so an app can only imitate the look. Thermal Camera is that kind of app, it says so everywhere, and it is not a substitute for anything on this page.